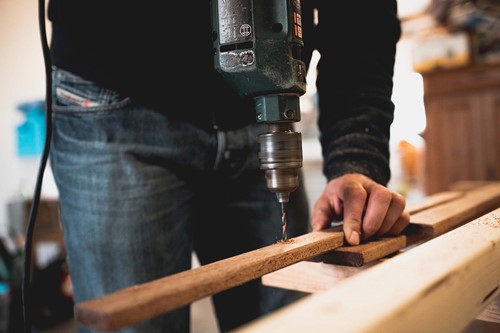
Photo by Thijs van der Weide from Pexels
You may be surprised to learn just how much a little DIY storage bench in your entryway can save you in time and money. Storage benches offer children a place to sit while they remove snowy or muddy shoes. That's less time spent mopping your kitchen or steam-cleaning the carpets.
Save hardwoods from years of damage and wear.
On top of that, a bench can double as storage. Never again will you be racing around your home trying to find your mittens, scarves, rain boots and other outdoor essentials on your way out the door. It's now all in one convenient place.
You can even store backpacks and lunch bags on the weekend -- whatever makes sense for your family.
You might think that making an entryway storage bench is complicated. But we'll show you the easy way to build your bench in less than a day.
What you'll need
*Pro tip* Borrow tools that you may never use again before buying. If you find you want to take on more new projects, you can buy one then.
How to build a DIY storage bench for your entryway
Here's your guide.
Gather materials & supplies
The amount of material varies by the bench size you choose the make. Be sure to measure twice and cut once so that everything fits perfectly.
Frame your bench
Your frame becomes your guide for the project. Cut your 2X4's the desired length of the bench. Then cut more for the height. Find the studs. And use that hammer drill to attach the 2X4s to the back wall. Build out from there.
Construct the front and sides
Now build around your frame, using your plywood. Be careful with any tools you use. Just take your time to get it right.
Add the hinges
Measure and drill for your hinges. Then simply screw them in.
Place the lid on the ground and drill holes for hinge screws. Then connect the top to the other side of the hinge with screws. You might need a partner hold the lid steady while you to screw in the lid.
Add your finish of choice
You can stop with a basic box. But while you're at it, it won't take much more effort to add some trim and paint it. Then place some hooks above for coats and backpacks.
And now, you have a beautiful DIY storage bench. For more helpful tips on home maintenance and improvement, follow our blog.
About the Author

Hunter Prestige Properties
For 35+ years, Hunter Prestige Properties has helped scores of families throughout Sonoma County sell and buy properties in all price ranges (estate, all residential, country, and horse properties). Through experienced, ethical representation, Hunter Prestige Properties has saved/made clients hundreds of thousands of dollars over the years.